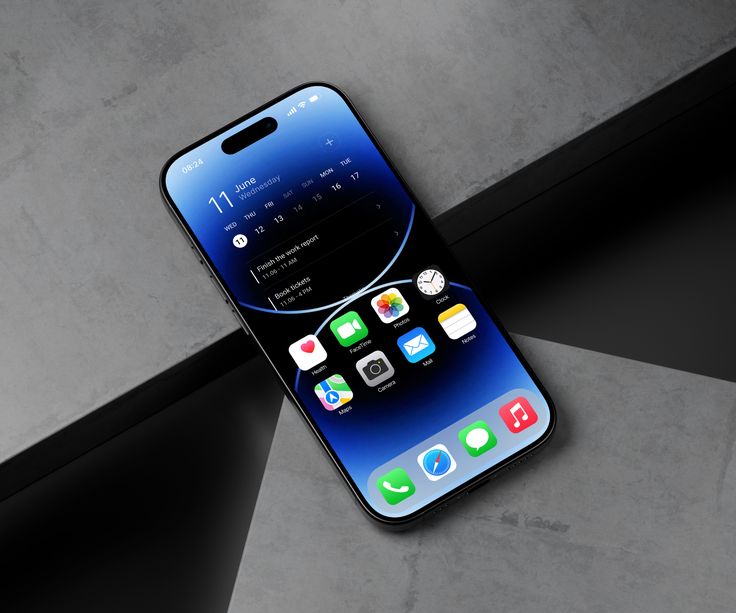
It’s a pity to claim that installing a brand new iPhone or iPad could be as difficult as it could be thrilling. If it’s a tablet or phone, the transfer process from an older device to the most recent iPhone is made simpler with an application called the iOS Setup Assistant.
This application will make it easier to transition from one device to another, based on the knowledge of how to operate the app. This guide will take the user through all they should be aware of using iOS Setup Assistant, from moving data effortlessly to establishing essential features.
What exactly is iOS Setup Assistant?
iOS Setup Assistant is a built-in tool for portable use by Apple that allows your device to be activated, connect to Wi-Fi, and allows you to restore data or copy it from your old device. It will keep your existing applications, messages, contacts, and settings in your brand newly purchased iPhone and iPad.
Complete Guide to Using iOS Setup Assistant
Turn on Your Device
Appliances should trigger emotions. The first thing that we typically think of is frustration and fear. In addition, nothing that seems simple can be effortless, especially in the case of this being your first time making it happen. In simple terms, if you’re in any kind of sales or business, then you’re familiar with the process of converting your clients over to the preferred method of payment. However, it is not simple.
Find Your Setup Types
When the device is turned on and you are prompted to select the method you would like to configure it:
- Quick Start (Recommended): Excellent for those who have new iPhones. A newly purchased iPhone that is more recent than iOS 11.
- iCloud Backup: Transfer data from your previous iPhone’s cloud backup into the latest.
- iTunes Backup or Finder Backup: Transfer your data between one system to the other via the computer.
- Set up a new iPhone: Install the iPhone as if it had just been taken out of the store, but without taking any of the information that was on the previous phone.
Quick Start: Most Easiest Types of Transfer
There is only one thing, namely, whether you still have your old iPhone in your possession, that’s the best method of doing it.
- Turn on Bluetooth and put both devices close to one another.
- A pop-up will appear on your previous iPhone and ask you if you’d prefer to make changes to the new phone.
- Zoom into the animation that is displayed on the latest iPhone using your previous device’s camera.
- If you’re prompted to enter the passcode from the old iPhone.
- Follow the instructions on how to transfer settings, apps, and other data.
Transferring Data with iCloud
If your old iPhone is missing or is not functioning properly and you’re not an avid user the idea of using cloud storage consider alternative storage options:
- Check first whether your device has been backed up by going to Settings » [Your Name]> iCloud > Backup > Backup Now.
- Select the option to restore using iCloud Backup while setting up the new iPhone, and also for the brand new iPhone.
- Log in using an Apple ID and pick the most recent backup you made before.
- Wait until the transfer of data is completed, since this can take anywhere from a matter of minutes or the extent of an hour, based on the speed of your internet.
Making use of a Computer (Mac or Windows)
If you’re using wired connections and are losing choices:
- The older iPhone on iTunes (on Windows) or the Finder (on Mac) through USB connections.
- The first step is to first click “Back Right Now” and ensure that the backup file is secure (to protect your passwords as well as health information).
- Connect the new iPhone and allow it to sync to either your Mac or Windows computer.
- In the iTunes screen, select the option called Restore Backup and the particular backup you restored.
Set up Face ID/Touch ID and Apple Pay
Security is first. In the initial step, you can alter your Face ID (or Touch ID for older models):
- Following that, hit the appropriate buttons as instructed, and then let your face scan or your fingerprint read.
- If Face ID is not working If Face ID is not working, you can select Touch ID as a backup alternative.
Additionally, you may also decide to setup Apple Pay. Visit the section for setting up the cards and select your credit or debit card to be the method of payment.
Privacy and Siri Settings and Privacy
In this phase, you’ll be provided with options related to privacy and individualization through virtual assistants. virtual assistant:
- Are the two devices off from your home or switched on and using the same software systems to perform an effective compatibility test?
- Don’t forget to activate Siri. It’s because of Siri the fact that Apple could be used to perform voice commands without having to operate it manually.
- Select a shared option that is suitable, or choose a less attractive option from the three.
Typical Problems and Troubleshooting
Quick Start Doesn’t Work?
- It is vital to make sure both devices are operating iOS 11 or higher.
- While you’re at it, you must turn the devices off and on and then press the Retry button.
Data Transfer Problems?
- Verify your Wi-Fi connection, and make sure you connect them simultaneously.
- As a side note, should you find that iCloud is the source of your information, this could be due to the lack of storage space within iCloud. You should therefore verify the space remaining.
Apps not restoring?
- In the event that you fail to achieve success using the direct approach, your best option could be to visit the App Store and check which stores are offering apps with an icon for downloading.
- Go to the App Store, then tap Purchased, then select Section Download Apps.
Why Should You Use iOS Setting Assistant?
With the help of iOS Setup Assistant you avoid any issues that a brand new device might bring. The entire process happens completely automatically, so there is no need to input the information manually. The user is able to use apps in their original form or settings. Additionally, it guarantees that your settings for the security of the system are not altered. The program is continuously enhanced by Apple and is the most efficient method of launching a brand-new device.
Conclusion
The moment you say hello to a brand new iPhone is bound to be exciting and not turn into a gruelling experience. Its iOS Setup Assistant simply does the task, regardless of whether you’re transferring data into Quick Start, iCloud, or using the wired method. After you’ve read this guide, it will be possible to install everything you require without difficulties, and be able to utilize your new device without problems.
Once you’ve become familiar with the process, it is now possible to use the new iPhone by utilizing all of the compatible Apple seamless data migration techniques. If you consider this article useful do not hesitate to forward this information to anyone who’s thinking of upgrading their iPhone to the next generation!